
Nothing tragic, nothing major, just a reminder that one can only do so much and that trying to do too many things at once will always result in a back fire!
So I am late to the party.
I was excited about having something planned out. I was excited about trying something new and being able to share it. I wasn't excited that the kids stood in my way of being able to concentrate and complete my tasks.
But, then it made me stop and think, was I being fair to them? Afterall I spent a load of time on the computer, telling them, in a minute.
My son kindly informed me that my version of a minute is extremely inaccurate, and it really means an hour. He was little right.
After honestly pausing to think about it, I realized I had to stop and give them the attention they desired otherwise it would be a bigger disaster and all of us would be frustrated. Yes, as I said before, having kids means you learn new lessons all of the time!
I might be late, but I am still joining the party!


I also really wanted a maxi skirt. I saw this great post on do it yourself Divas, for a maxi skirt with a yoga waistband. Sounded perfect and I had just enough knit fabric to give it a try.


My lessons learned:
- Not all fabric is equal. The fabric I had on hand was a knit, but was more of an athletic polyester, does not fit as well as a knit fabric, it is too baggy in the waist.
- When trying to do a zig-zag on the fabric it kept getting caught in my machine. Making a straight stitch and then adding the zig-zag made it easier and made the seams stronger.
- Be honest with your measurements. I am not a 28 inch waist girl like the original blogger and need to accept that without feeling bad about myself.
- Don't give wiggle room in the waist measurement of this skirt with this fabric, it will not fit right. The skirt hangs in a weird way.
- I either need to give this away or add an elastic band to the waist so I can feel comfortable and not worry about losing my skirt!
- Maxi skirts may not be for me, even thought I love the way they look on everyone else.
- Don't sew when your kids are full of energy!

They were ugly the way they were, so I added some cute craft paper to make them cuter.

 |
| Notice my photobomber? |


Step 1 - Slice the zucchini and coat in olive oil (I poured some oil in the baking dish and tossed them in that pan - the pan should be greased when you cook them - tossing them in the pan before coating them saves on using extra oil and having a dish to wash.)


Step 3 - Toss the oil coated sliced zucchini in the bread crumbs. Then spread out in a single layer in the baking dish - I stood the extras along the sides and that worked well!


I love banners, but don't love to cut them out, so I was determined to find a way to use my Silhouette to cut them out for me. Is that because I am resourceful or lazy?


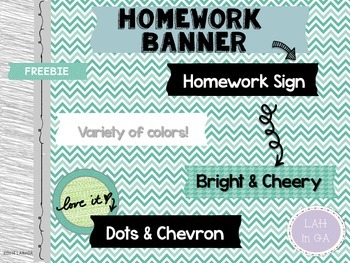


I converted the teal homework banner to a file using Silhouette. If you have a Silhouette and like the teal homework banner, click here for the link to the file.
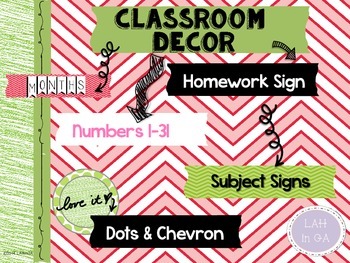
If you prefer the melon and lime banner, click here for the file.
If you use the Silhouette files, all you have to do is print it from the Silhouette program, then line up your paper on the board and send it to be cut. When I cut it the black borders were sometimes trimmed off, but that was a small price to pay for straight lines!
I tried to cut out a laminated set, but ones the banner pieces were cut they got caught up under the bar. If you know how some tips for cutting out laminated pages please share.
If you really like the melon colored set, I made a packet with the same patterns. Check it out here, it is also free.


Thanks for forgiving me for being tardy!
Cheers-

You go girl on the sewing. You're my hero!!! Love the boxes and the zucchini looks DELICIOUS. I wish it wasn't so far or I'd be at your house for you to feed me! XOOXXO
ReplyDeleteAlison
Rockin' and Lovin' Learnin'
You should be able to trace the month banners in the Silhouette Studio and make them into a print and cut file. Do you have the designer edition of Silhouette Studio? I LOVE using my silhouette to make my life easier when it comes to cutting out things for school. I haven't tried to cut laminated things in the silhouette yet. You may have to laminate the entire paper and then cut it that way so that the machine can read the print and cut margins that you have to print first??????
ReplyDeleteLove your idea of getting boxes from Walmart to hold the student notebooks!!! You decorated them super cute.. :) Also your homework banners are super cute! You had some great made its this week!
ReplyDeleteAna
Mrs. Bentin's Blackboard